Drawing 2: Charcoal Still life Drawings
Students are invited to create a large scale reductive still life drawing in charcoal. The primary focus of this project is composition. Students learn to employ the compositional strategies of dynamic lines, rule of thirds, placement of the focal point, repetition of value, asymmetry and form to create engaging, dynamic compositions. Students engage in additive and subtractive modes of mark making as a way to explore texture, drama and atmosphere. As a warm-up for this project, students practice drawing their own eyes using a mirror in charcoal. Each student make four compositional sketches before beginning their drawings. These are featured here as well.
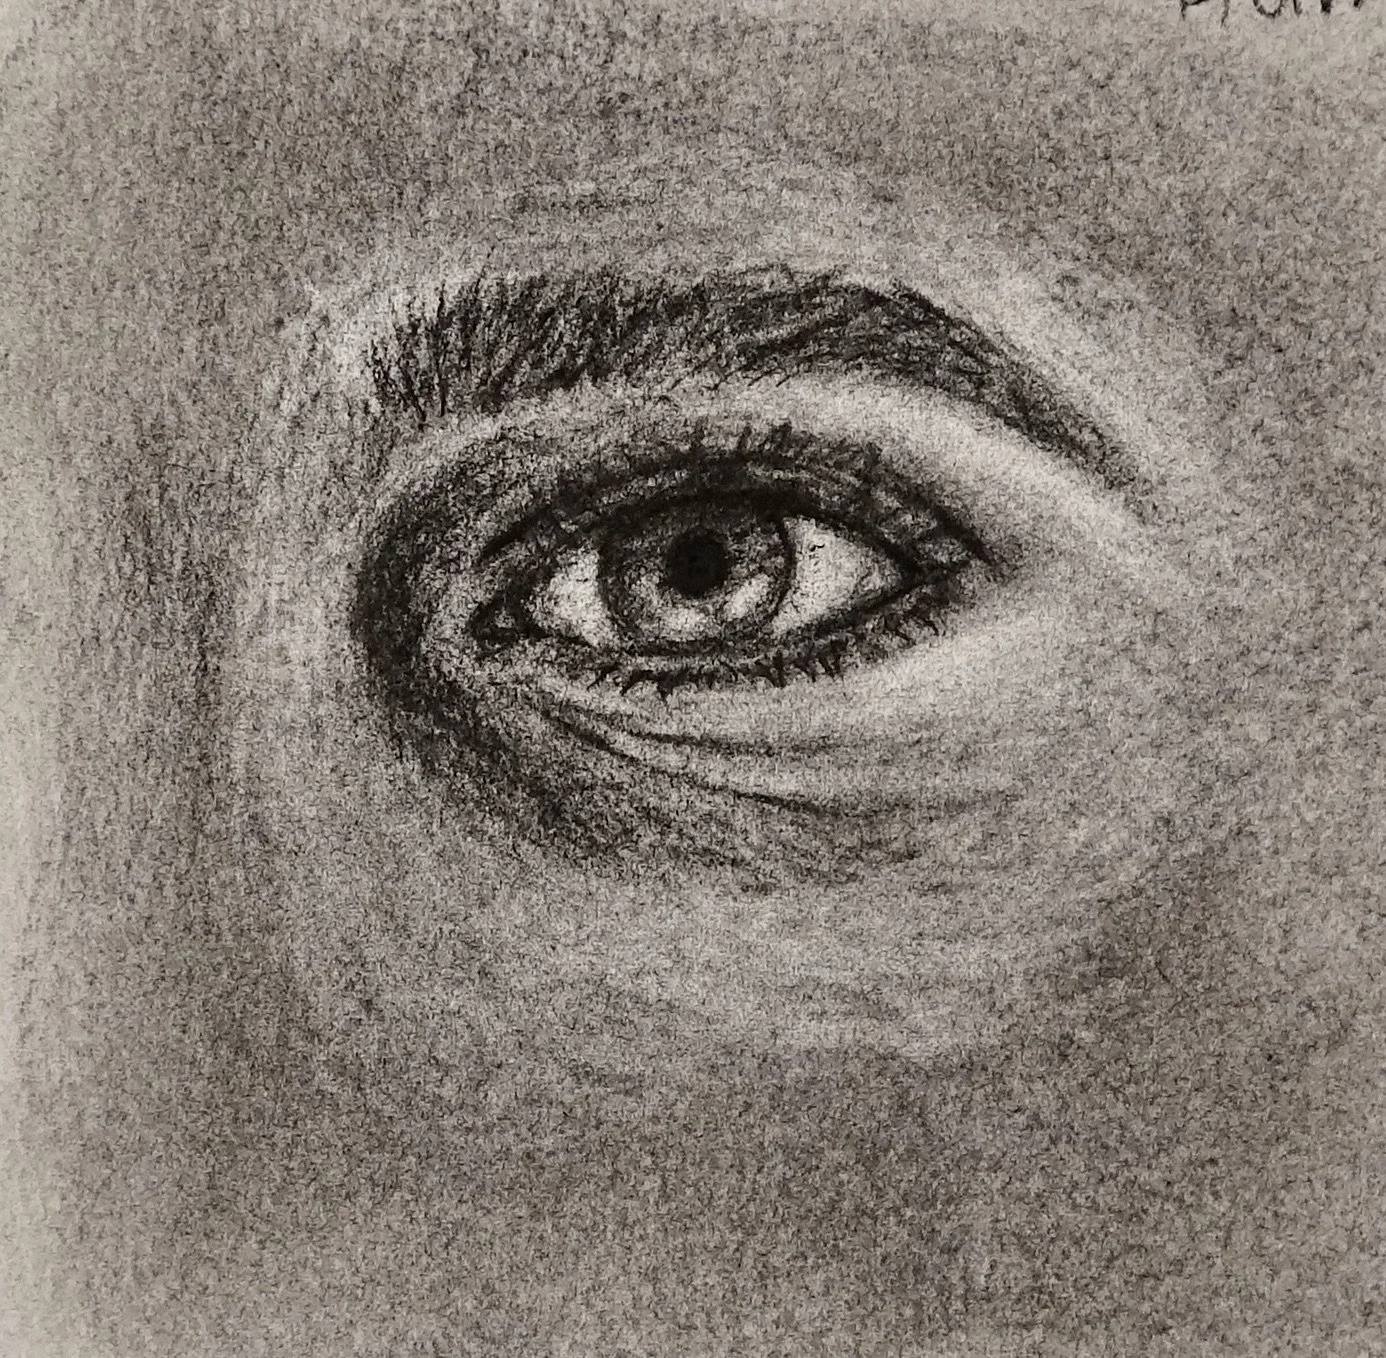
Warm-up
Students recall their observational drawing skills while practicing a new reductive drawing technique with charcoal. Each student is given a mirror and draws their own eye from observation following a demonstration.


Guided Discussion and Demonstration
Students are shown images of finished project examples from previous classes. They participate in guided discussion while being asked leading questions to keep them engaged. I point out compositional strategies evident in the examples, then invite students identify them on their own. I talk about the purpose of the discussion being to help students internalize how composition can make their work exciting for their viewer. Students begin by making four compositional sketches in order to solidify their new knowledge of composition.


Compositional sketches by students


In-Process Drawings
After meeting with students individually and helping thing chose their final composition, students begin the drawing process. They tape large paper to boards and tone the paper with compressed charcoal. We focused on visual measuring, angle finding and using negative space shapes to create the large scale drawings.


Reductive Drawing
Students start their drawings by laying down a charcoal ground. After the initial sketch, then next step is to lift up areas of light value with a kneaded eraser and shade areas of darker value. I demonstrate this for students while referring to images and talking through the process.


